By Lili | 04 July 2025 | 0 Comments
How to Sew Your Own Custom Pillowcase
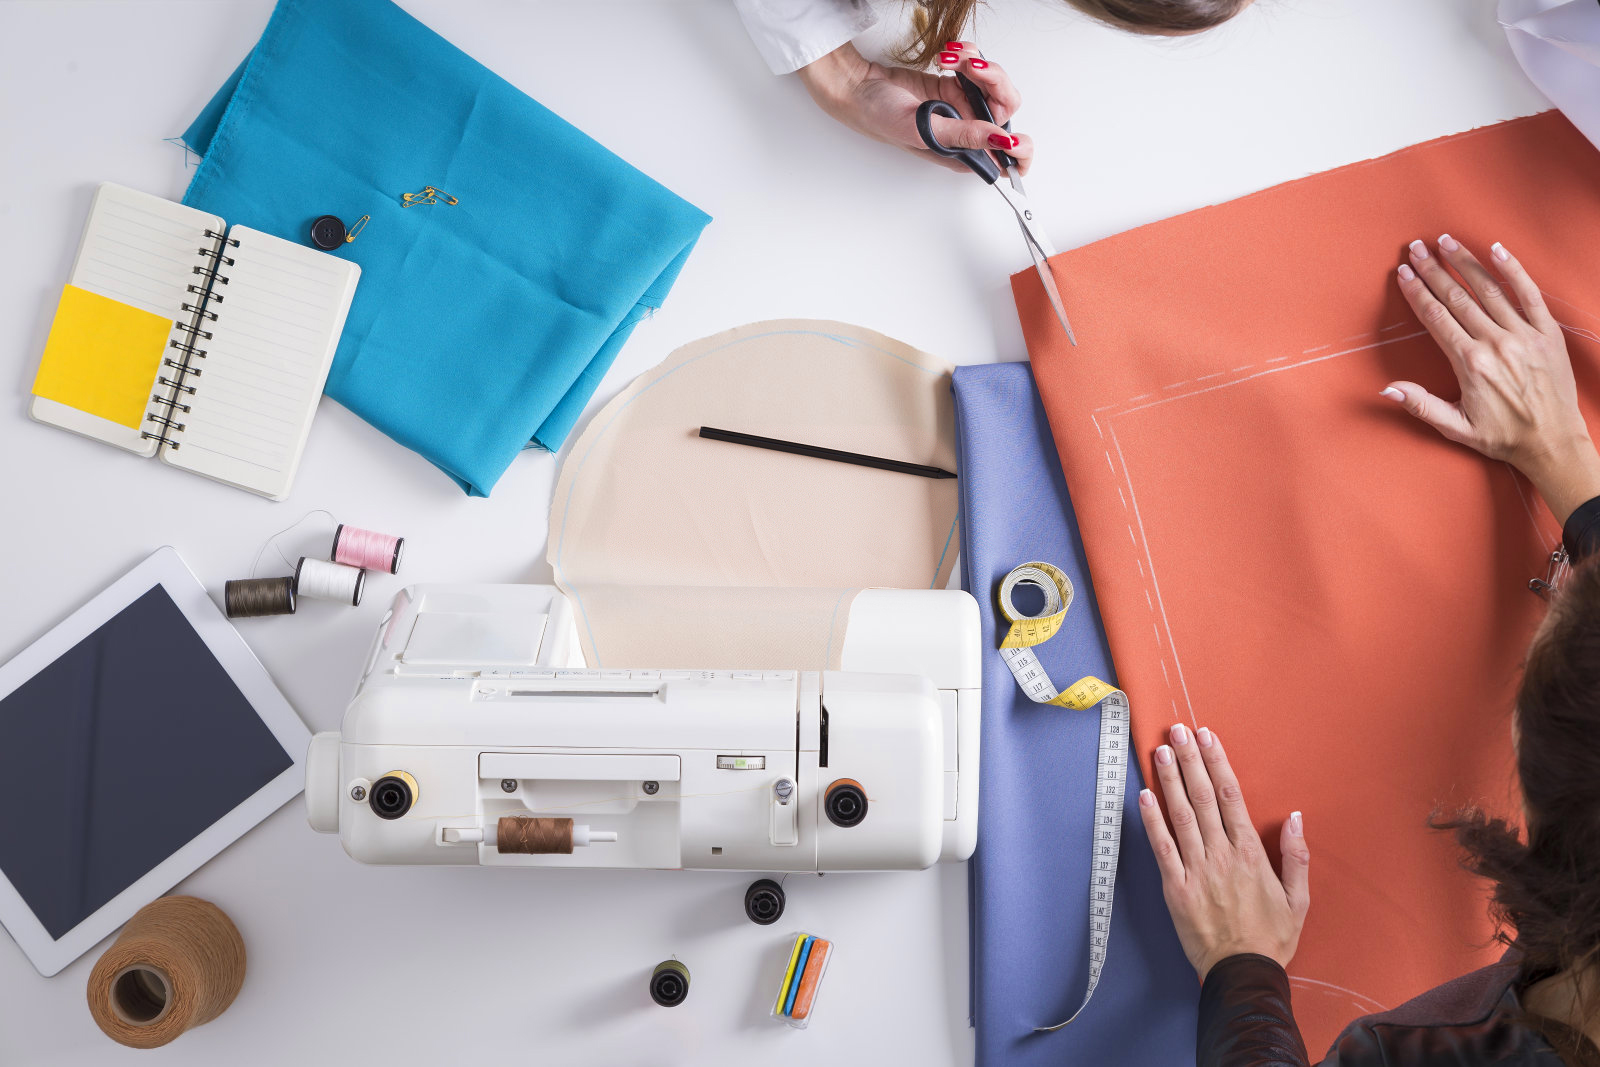
1. Preparing Materials
Fabric Selection:
Cotton: Soft, breathable and easy to sew, perfect for daily use.
Linen: Durable with a luxurious, rustic texture that softens over time.
Silk: Smooth and elegant, ideal for a high-end feel.
Tencel: Eco-friendly and silky, great for sensitive skin.
Coral Fleece: Cozy and warm, best for colder seasons.
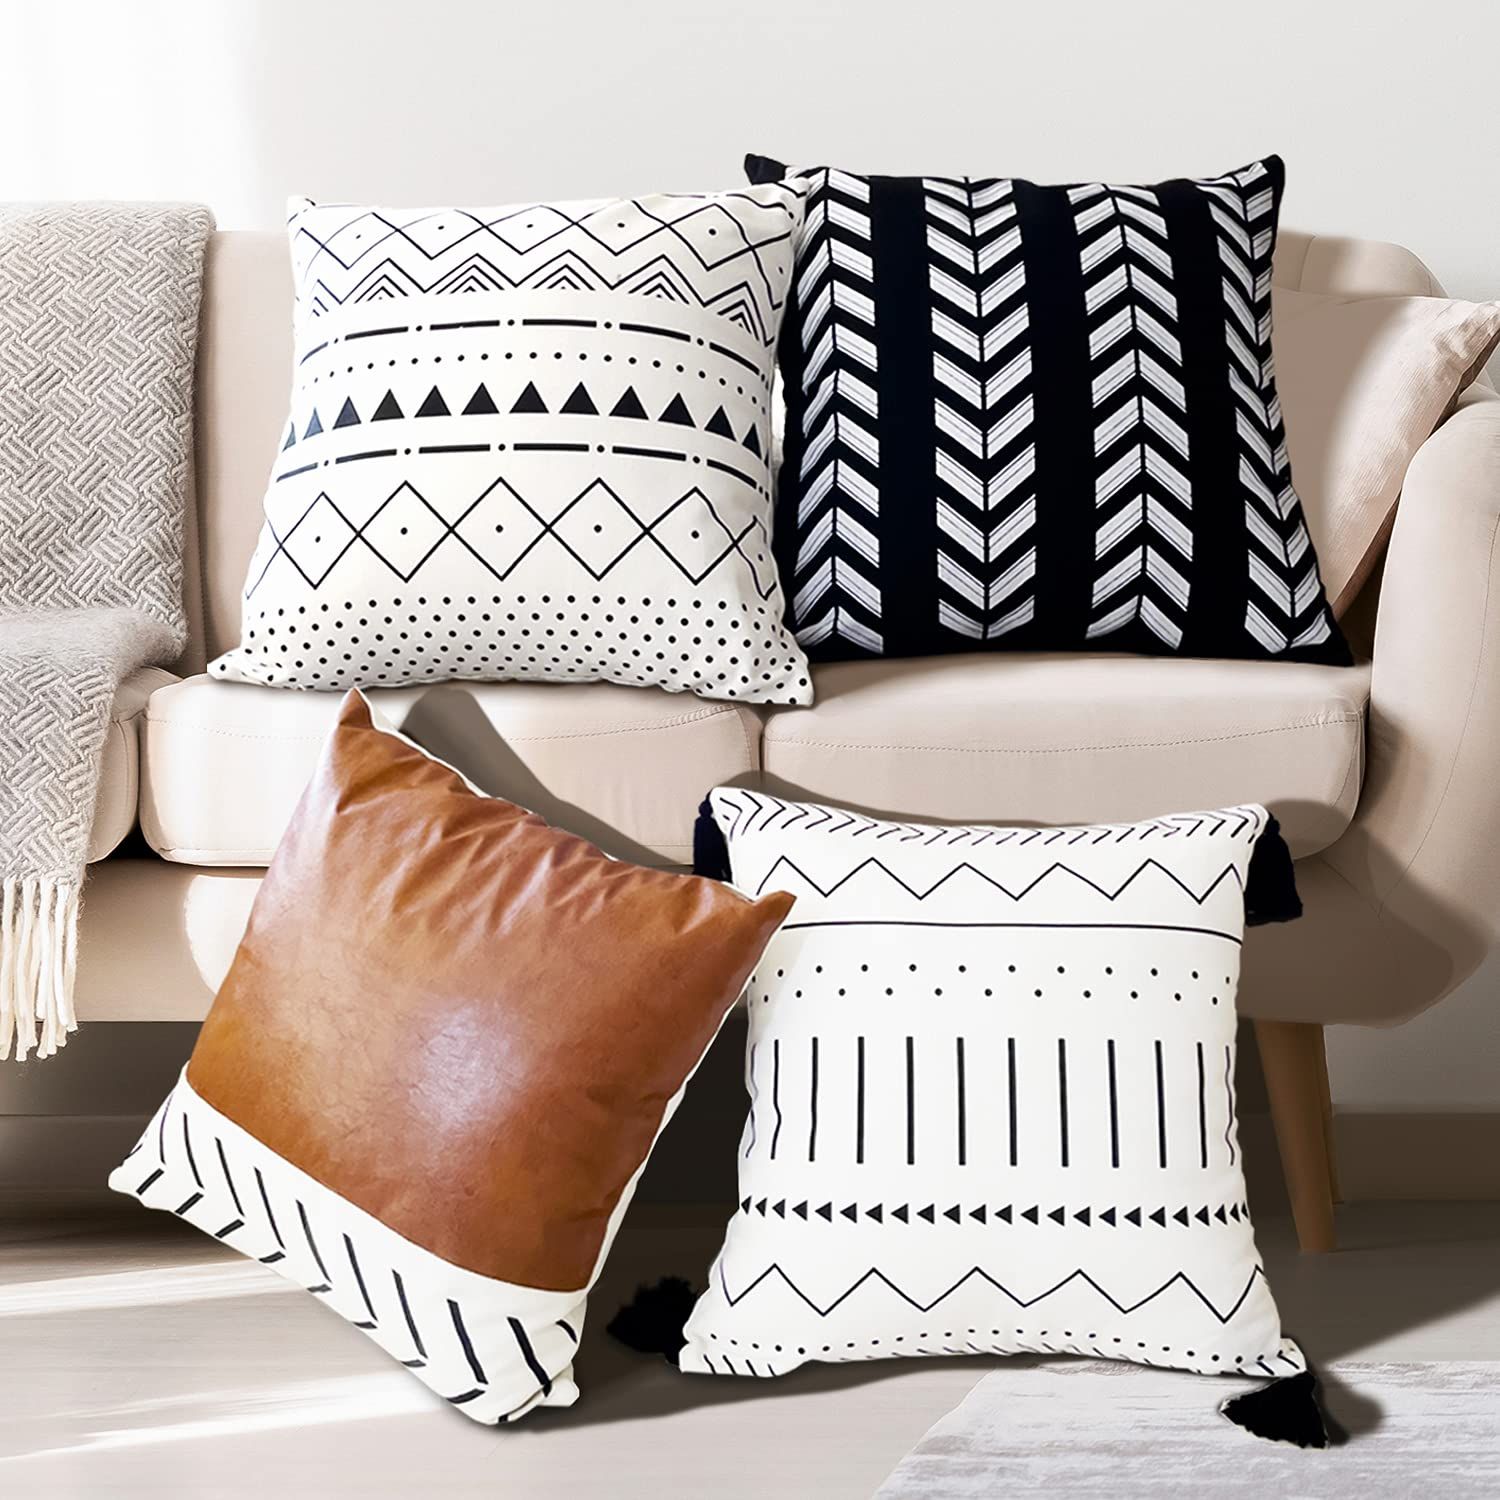
Choose fabric based on your room’s decor and preferences. For a personalized touch, consider custom printing on fabric to add unique patterns or designs. Ensure the fabric is at least 45 inches wide, and account for seam allowances (add 2–3 cm per side).
Pattern Options
Solid Colors: Timeless and versatile.
Floral Printed: Adds vibrancy and character.
Custom Designs: Use your own artwork or photos for a one-of-a-kind look. With digital textile printing, your custom designs will display vibrant colors and precise details.
Additional Materials
Closure: Zipper, buttons, or hook-and-loop tape (optional, based on opening style).
Cutting Tools: Fabric scissors, ruler, chalk or water-soluble pen.
Sewing Supplies: Needle, thread or sewing machine.
Iron: For pressing fabric to ensure neatness. Pre-wash and iron fabric to prevent shrinkage.
2. Measuring Dimensions
Standard pillow sizes for reference:
Standard: 48 x 74 cm.
Large: 50 x 80 cm.
Calculate fabric dimensions, adding seam allowances (1 cm per side). For an envelope-style pillowcase (48 x 74 cm):
Front Panel: 50 x 76 cm.
Back Panels: 50 x 100 cm (split into 2 pieces for overlap).
Adjust measurements if using zippers or other closures.
3. Cutting the Fabric
Mark dimensions on the fabric with chalk or a water-soluble pen. Make sure the pattern direction is aligned correctly. Cut cleanly with fabric scissors for smooth edges.
4. Creating the Opening
Choose an opening style:
Envelope Style: Simplest, with 2 back panels overlapping by 15–20 cm, no zipper needed.
Zipper Style: Sew a zipper along the long edge to ensure a secure closure.
Button/Hook-and-Loop: Add buttons or hook-and-loop tape at the back overlap.
5. Sewing the Pillowcase
Place the front and back panels right sides together, aligning edges. Pin securely first. Sew around the edges with a 1 cm seam allowance using a sewing machine or hand stitching. For envelope styles, overlap the back panels before sewing. Trim excess fabric at corners diagonally (without cutting stitches) for crisp corners.
6. Turning and Finishing
Turn the pillowcase right side out through the opening. Use a pointed tool to push out corners gently. Press with an iron for a polished finish. Check for loose threads and trim as needed.
7. Final Touches
Insert the pillow to ensure a snug fit. Add optional embellishments like embroidery, appliques or printed designs for extra flair. Wash in cold water on a gentle cycle and dry on low to maintain fabric quality.
8. Tips for Success
Beginner-Friendly: Start with an envelope-style pillowcase for simplicity.
Advanced Customization: Use digital printing or heat transfer for photos, text or logos.
Eco-Friendly Option: Repurpose old clothes or bedsheets for a sustainable, unique look.
Sewing your own custom pillowcase is an easy way to add a personal touch to your cozy home. With careful material selection, precise measurements and creative touches, your custom pillowcase will be both functional and beautiful.
Leave a Reply
Your email address will not be published.Required fields are marked. *